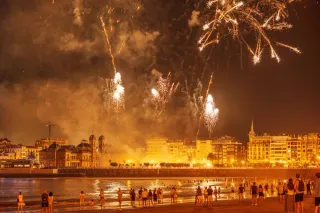
A launch lasts a few minutes and never plays twice. That is what makes launch photography so frustrating: there is no second chance to fix a setting. The good news is that success comes down to three decisions made before liftoff — location, stability and exposure — far more than to the price of your camera body. Here is the method, whether you shoot a DSLR or a phone.
The rule that trumps everything: decide what you want
You cannot do it all at once. Choose beforehand:
- The souvenir shot: the rocket, you, the atmosphere. A phone is enough.
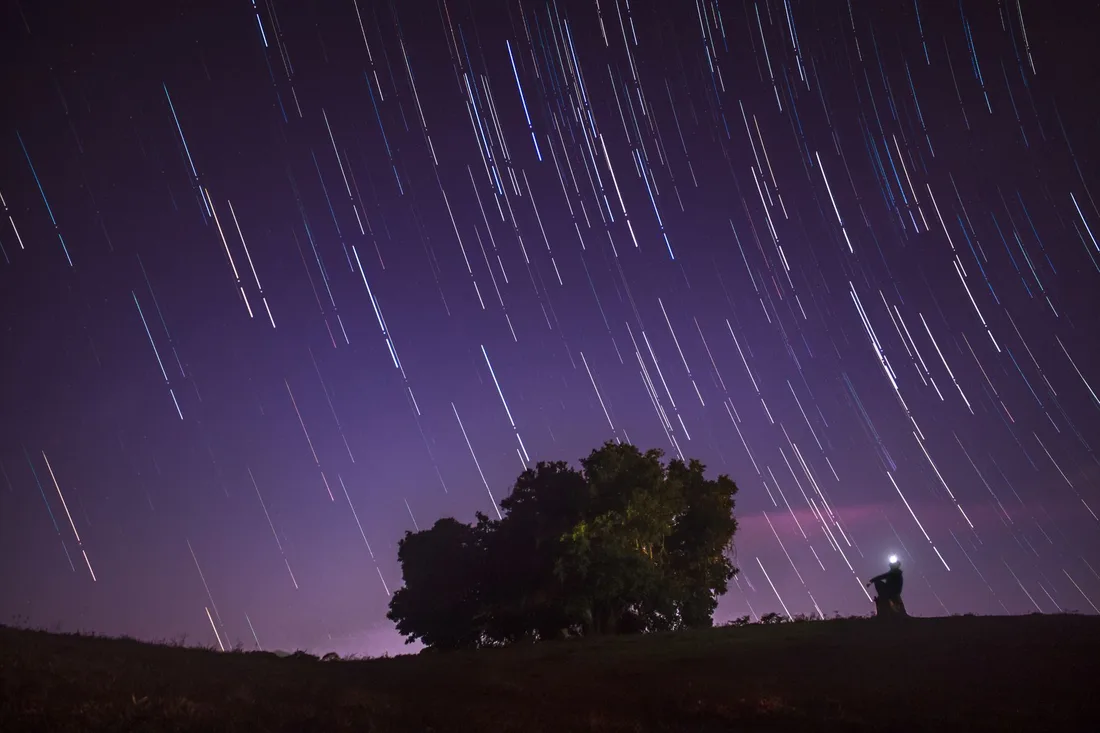
- The light trail: a long exposure that draws the trajectory. Tripod mandatory.
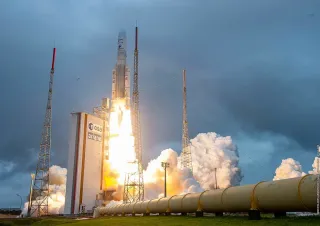
- The close-up of the launcher: reserved for nearby viewing sites and long focal lengths.
- Video: hand it to a second device locked on a tripod, while you watch with your own eyes.
The most important advice on this page: do not spend the launch behind a screen. Start a wide-angle video on a tripod, then look up. You will find better images online by the next morning; what you will not find again is the feeling.
The gear
The essentials
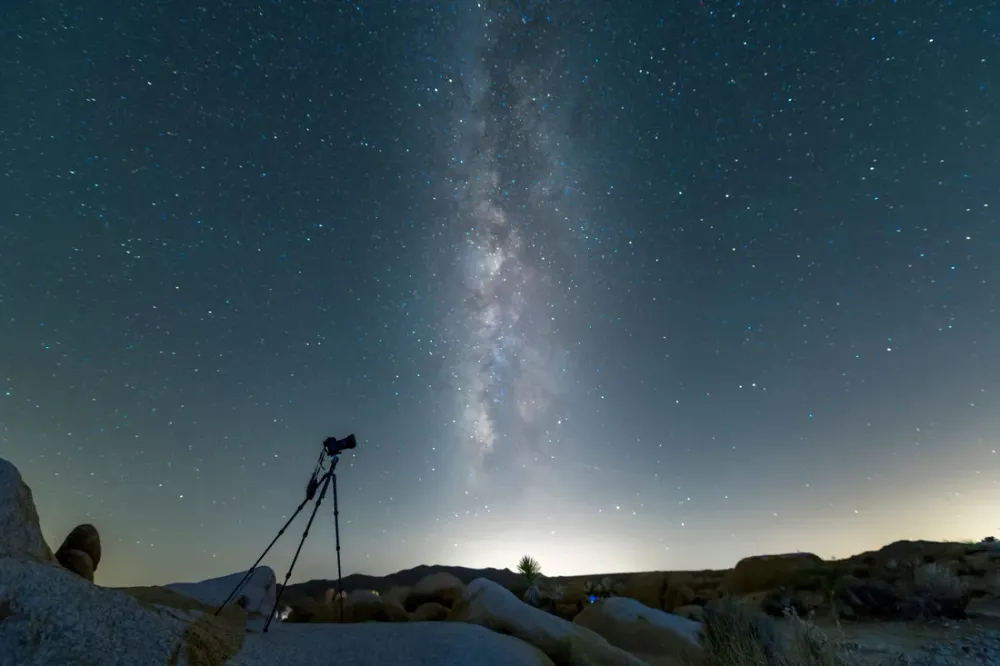
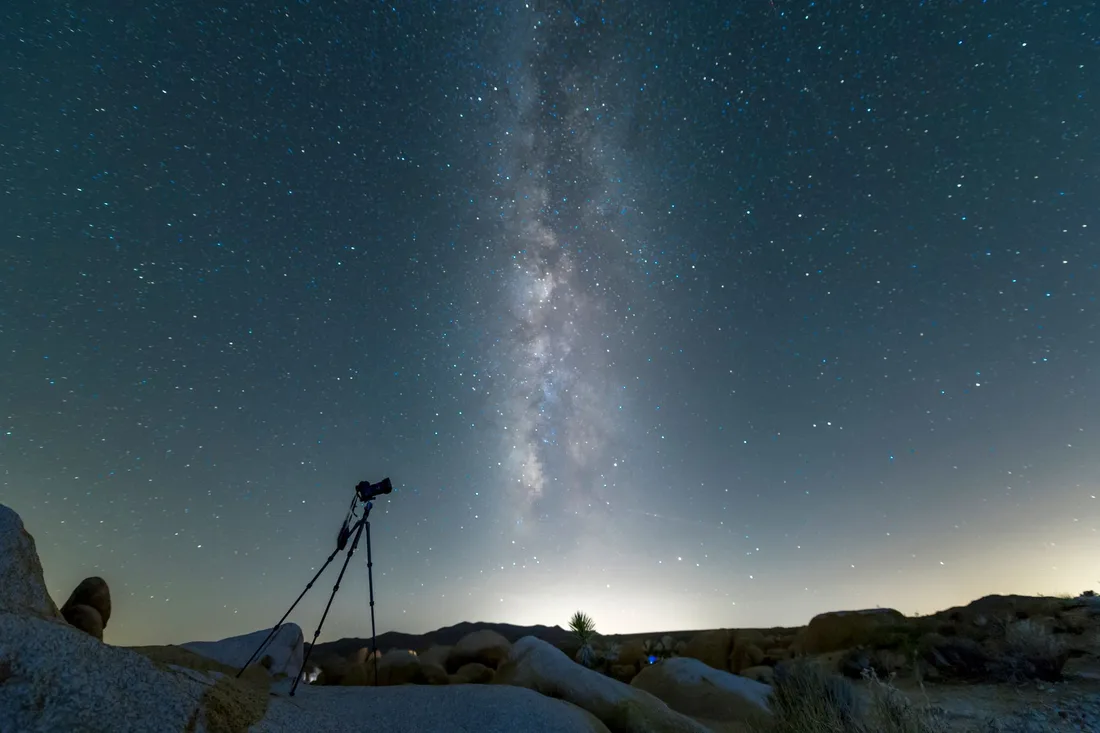
- A tripod, the moment the launch is at night. Without one, no night shot will be sharp.
- A spare battery: the wait is long and the heat drains cells.
- A microfibre cloth: at 80 % humidity, the lens fogs over as soon as you step out of an air-conditioned vehicle. Take your gear out 20 minutes ahead so it reaches ambient temperature.
- A waterproof bag or a plastic bag: a tropical downpour arrives fast.
The useful focal lengths
- Wide angle (14-35 mm): to take in the landscape, the crowd, the lit-up clouds. Often the shot with the best story to tell.
- Standard (50 mm): versatile, a good compromise at around ten kilometres.
- Telephoto (200-600 mm): only if you are close and on a stable tripod. At 60 km, even a 600 mm will give you nothing but a bright dot.
A classic mistake: reaching straight for the longest lens. At 10-15 km from Kourou, a medium framing gives better results, because it keeps a ground reference (sea, coconut palms, horizon) that provides scale.
The settings, case by case
Night launch, long exposure (the signature shot)
Goal: draw the launcher’s trail over several tens of seconds.
- Manual mode (M), manual focus at infinity, set before dark on a distant point, then locked.
- Aperture: f/5.6 to f/8. Too wide open and the trail will be blown out and white.
- ISO: 100 to 400. The launcher is very bright, there is no need to go higher.
- Shutter: an exposure of 20 to 60 seconds, triggered a few seconds before H0.
- Self-timer or remote release so you do not shake the camera.
- Stabilisation switched off on a tripod.
Tip: run a test on a distant street lamp an hour beforehand, to validate focus and exposure.
Night launch, single frames
- Shutter priority, 1/125 s minimum if you are handheld — but accept that the result will be average.
- ISO 1600 to 3200, maximum aperture.
- Frame wide: at the speed the rocket climbs, a tight frame loses it immediately.
Daytime launch
Much simpler.
- Aperture priority, f/8, ISO 100-200.
- Fast shutter, 1/1000 s or quicker, to freeze the rocket and the smoke.
- Watch out for blowing out the flame: underexpose slightly, by −0.3 to −1 EV, to keep detail.
- Frame with room above: the rocket goes up, it never comes down.
On a phone
- Switch to pro/manual mode if your device offers one, and lock focus and exposure on the sky before the launch (press and hold on the screen).
- Turn off digital zoom: it destroys the image. Cropping into the photo afterwards gives a better result.
- Film rather than photograph: on a phone, video gives far better results for a launch.
- On a tripod with a night mode or long exposure, a recent phone can produce a perfectly decent trail.
Location matters as much as settings
Three criteria, in order:
- A clear horizon in line with the launch pad — to the north-west from the town of Kourou. A building or a row of coconut palms hides the first thirty seconds, which are precisely the most photogenic.
- No street lighting, decisive at night: a lamp post in the frame creates a flare that ruins the shot.
- An interesting foreground: palm trees, sea, silhouettes. That is what sets your image apart from the thousands of others.
Scout your spot the day before, at the same hour. It is the only way to see the real lighting and the obstacles. Our guide to free spots to watch a launch at Kourou lists the public locations, and what you actually see depending on distance helps you choose the right framing scale.